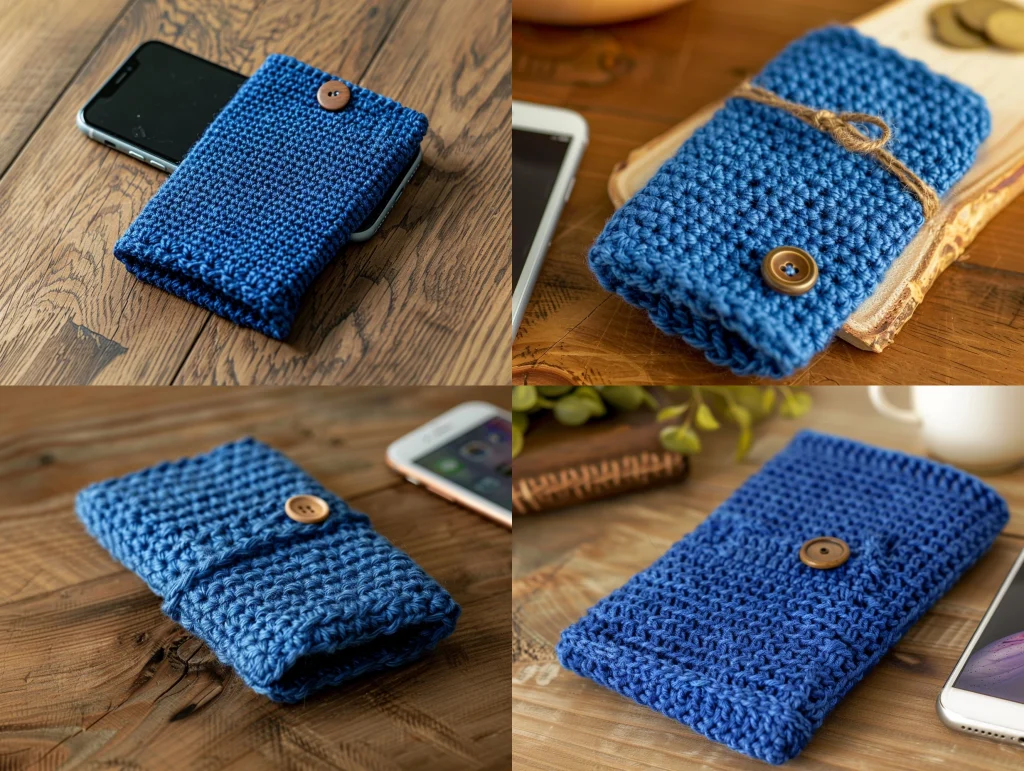
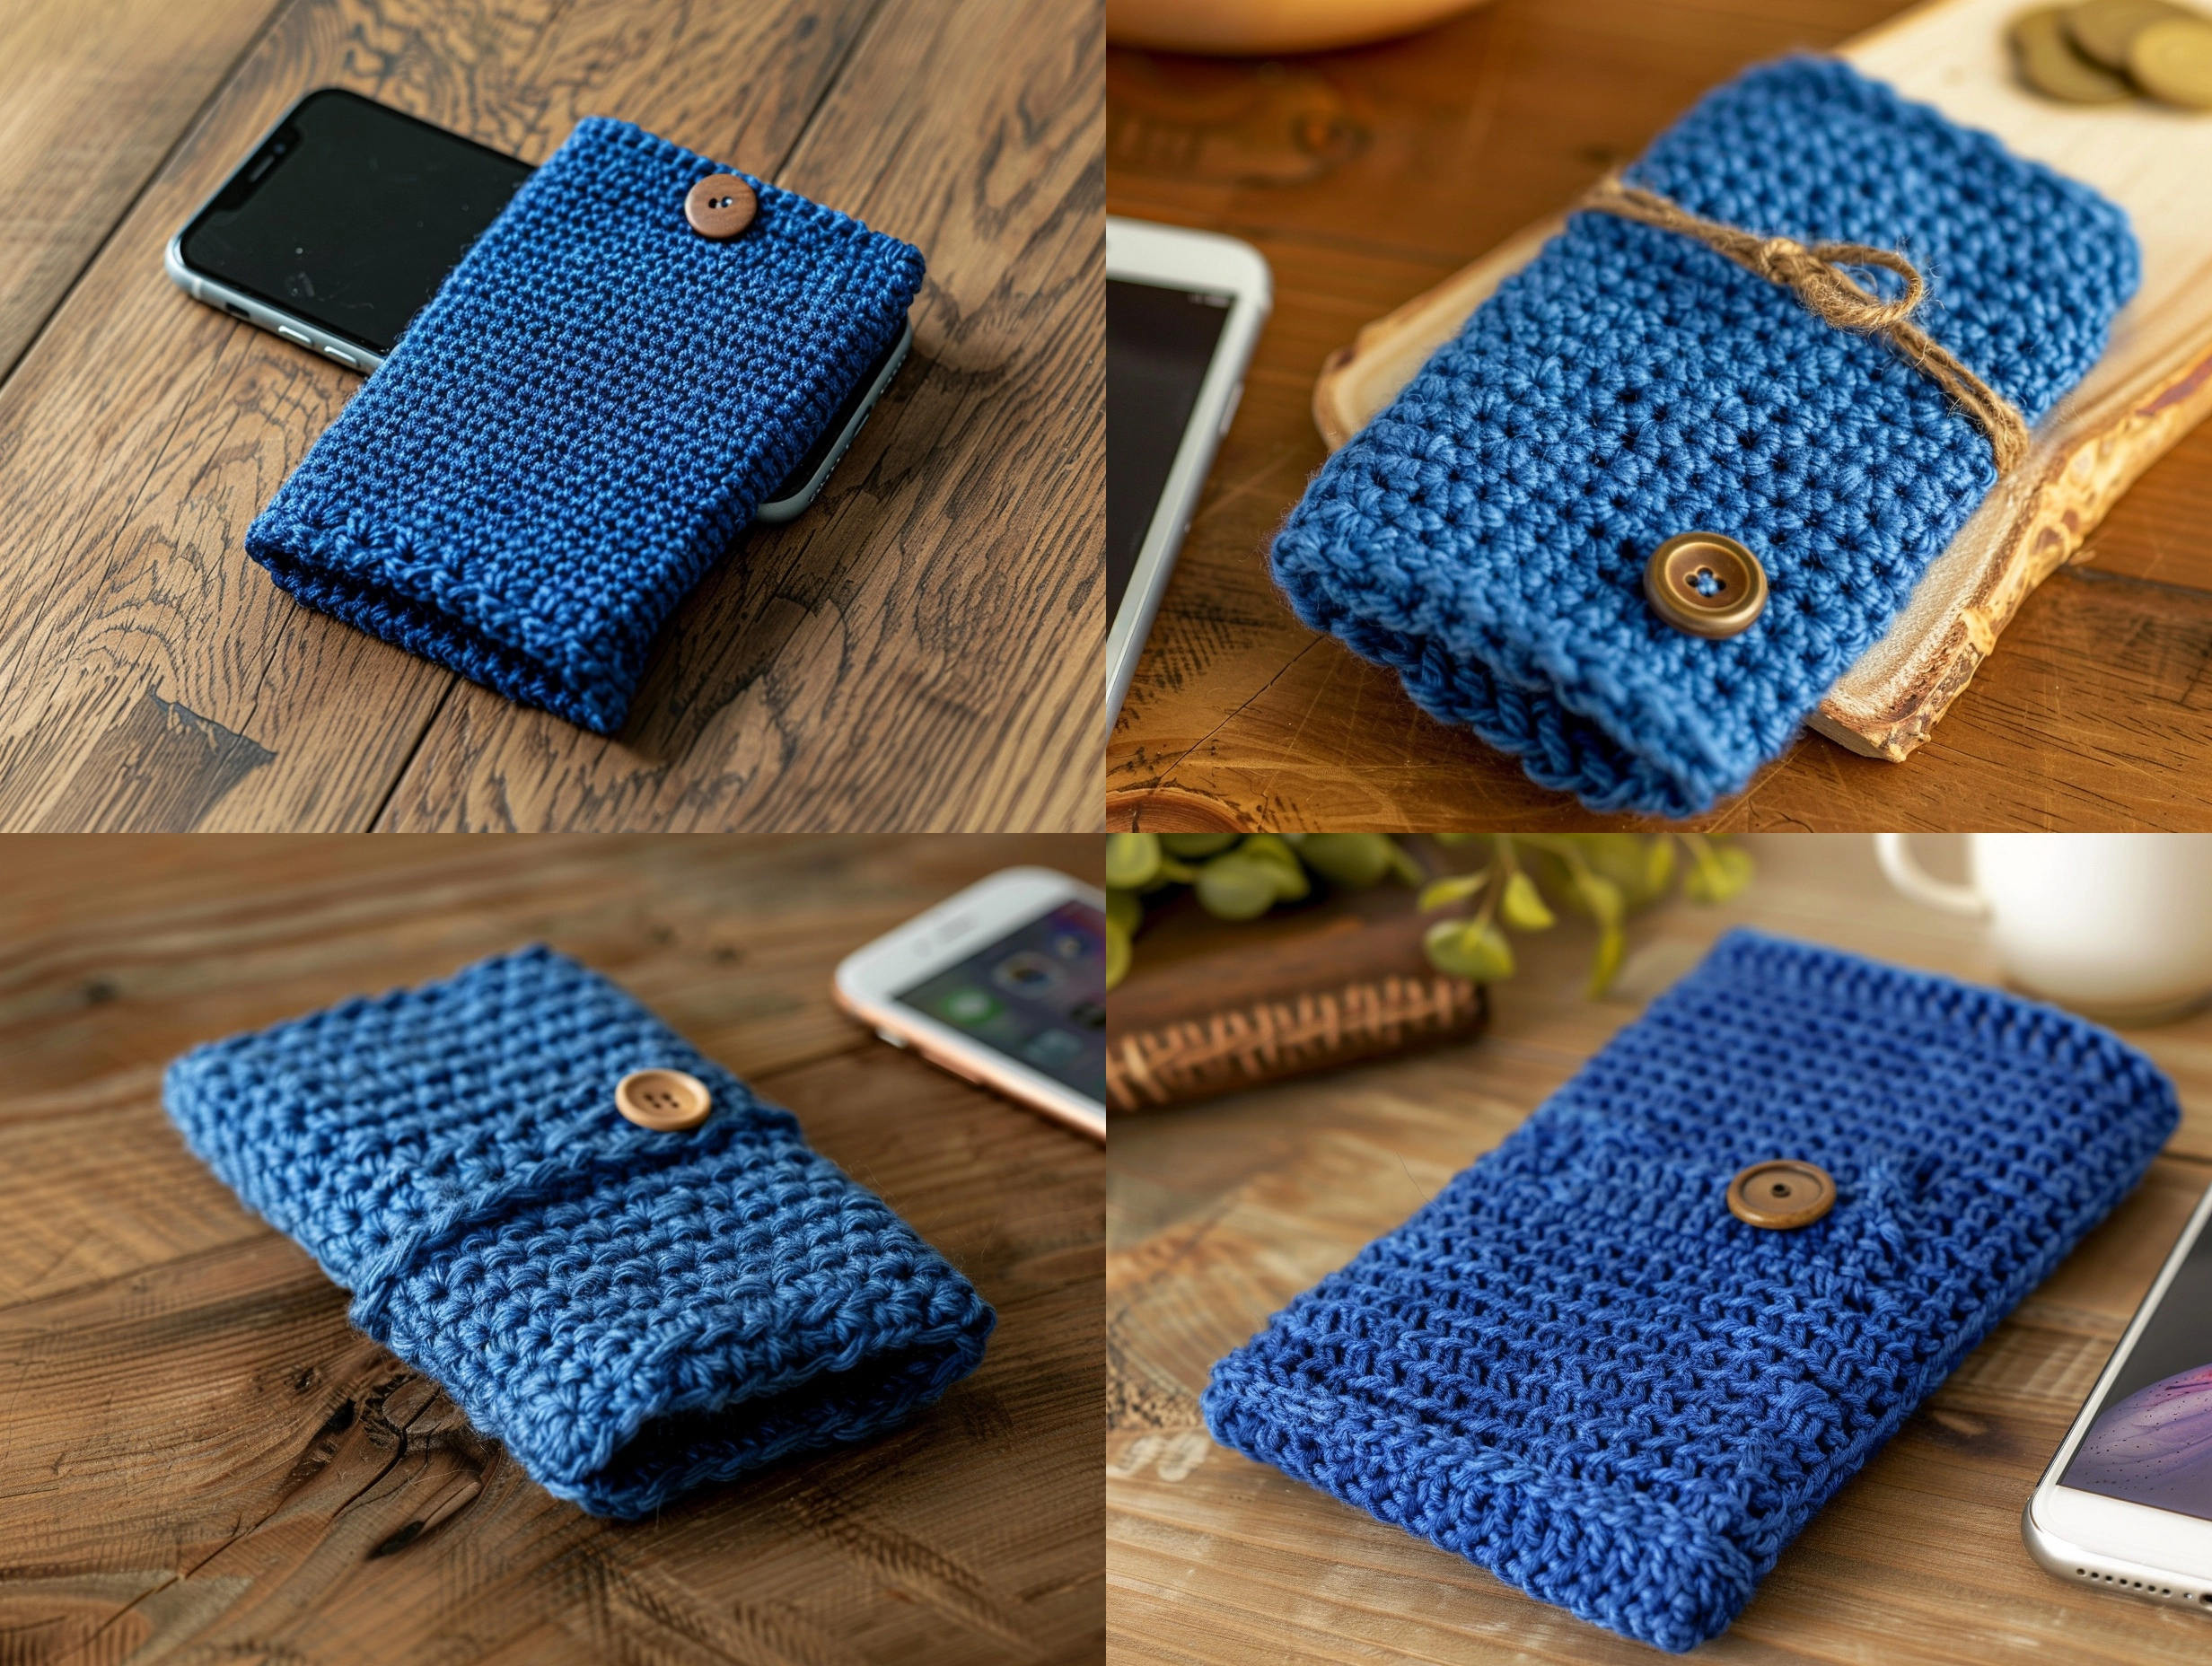
There is something satisfying about turning a small amount of soft blue yarn into an everyday accessory. A crochet phone case is quick enough for a relaxed afternoon project, useful enough to carry everywhere, and easy to personalize with your favorite texture or shade.
If you are looking for the best handmade crochet iPhone 17 Pro blue case, an adjustable sleeve is a practical place to start. Phone dimensions, protective shells, and crochet tension can all vary, so this pattern is designed to be measured as you work instead of relying on one rigid stitch count.
The finished project is a simple padded pouch made from one flat rectangle. You will crochet the rectangle in single crochet, fold it around the phone, and seam the sides and bottom. The result is a neat blue cover that can be made to fit the phone alone or a slim protective case.
About This Crochet Pattern
This crochet phone case uses a basic single crochet fabric because it creates a firm, closely worked texture. The fabric has enough body to help protect the phone from everyday scratches while remaining flexible and comfortable to hold.
The pattern is suitable for confident beginners who are comfortable with chains, single crochet, turning rows, and simple seaming. It does not require complicated shaping or advanced colorwork. Since the pattern is adjustable, measuring your phone or phone case is more important than matching a fixed stitch count.
Skill Level: Beginner to easy
Pattern Type: Flat rectangle folded into a pouch
Terminology: US Crochet Terms
Construction: One crocheted panel, folded and seamed along the sides and bottom
Best Use: A soft protective sleeve for an iPhone 17 Pro or a similarly sized phone
This is a fabric sleeve rather than a rigid impact-resistant case. Remove the phone before crocheting around it, and remember that handmade crochet cannot replace a certified protective shell for drops or heavy impact.
Yarn for best handmade crochet iPhone 17 Pro blue case
Choose a smooth, durable yarn that creates a dense fabric without becoming stiff. A medium-weight yarn is usually the easiest option because it works up quickly and gives the case enough structure to hold its shape.
Recommended Yarn
A worsted-weight, category 4 yarn in blue is a practical choice. Cotton, cotton blends, acrylic, or another hard-wearing fiber can work well. Smooth yarn makes it easier to see your stitches, measure the panel, and slide the finished sleeve on and off the phone.
Cotton gives the case a crisp, substantial feel and is less likely to become overly fuzzy. Acrylic can provide more stretch and is often easy to wash. A cotton-acrylic blend offers a balance of softness, durability, and shape retention. Look for yarn with consistent thickness and avoid very loose, novelty, or highly textured yarn for the main fabric.
Yarn Substitutions
You can substitute another yarn as long as you compare its weight, fiber characteristics, yardage, and recommended gauge. A thinner yarn will usually require more stitches and rows, while a thicker yarn may create a bulky sleeve that is difficult to use.
Before committing to the project, make a small swatch and measure the phone or slim phone case you want to cover. If the fabric feels too loose, change to a smaller hook. If it feels board-like or difficult to bend, use a larger hook or loosen your tension. The amount of yarn depends on the phone measurements, stitch tension, and whether you add a border or flap, so buy enough yarn for your chosen size with some extra for seaming.
Crochet Hook and Materials
- Medium-weight blue yarn in a smooth, durable fiber
- A crochet hook suited to your yarn, often somewhere around 3.5 mm to 4.5 mm
- Scissors
- Yarn needle with a blunt tip
- Measuring tape or ruler
- Stitch marker, optional
- Your iPhone 17 Pro, or the slim protective case that the crochet sleeve will cover
- Optional: a small button and matching yarn for a closure
Crochet Stitches Used
Chain
Make a slip knot on the hook, yarn over, and pull the yarn through the loop on your hook. Repeat to create the required chain. Keep the chain flexible rather than pulling each stitch tightly.
Single Crochet
Insert the hook into the indicated stitch, yarn over, and pull up a loop. Yarn over again and draw through both loops on the hook. Single crochet creates a firm fabric that is well suited to a phone sleeve.
Slip Stitch
Insert the hook into the indicated stitch, yarn over, and pull the yarn directly through the stitch and the loop on the hook. Slip stitch is useful for joining yarn and finishing an edge.
Crochet Abbreviations
| Abbreviation | Meaning |
|---|---|
| ch | chain |
| sc | single crochet |
| sl st | slip stitch |
| st | stitch |
| sts | stitches |
| rep | repeat |
| sk | skip |
Gauge
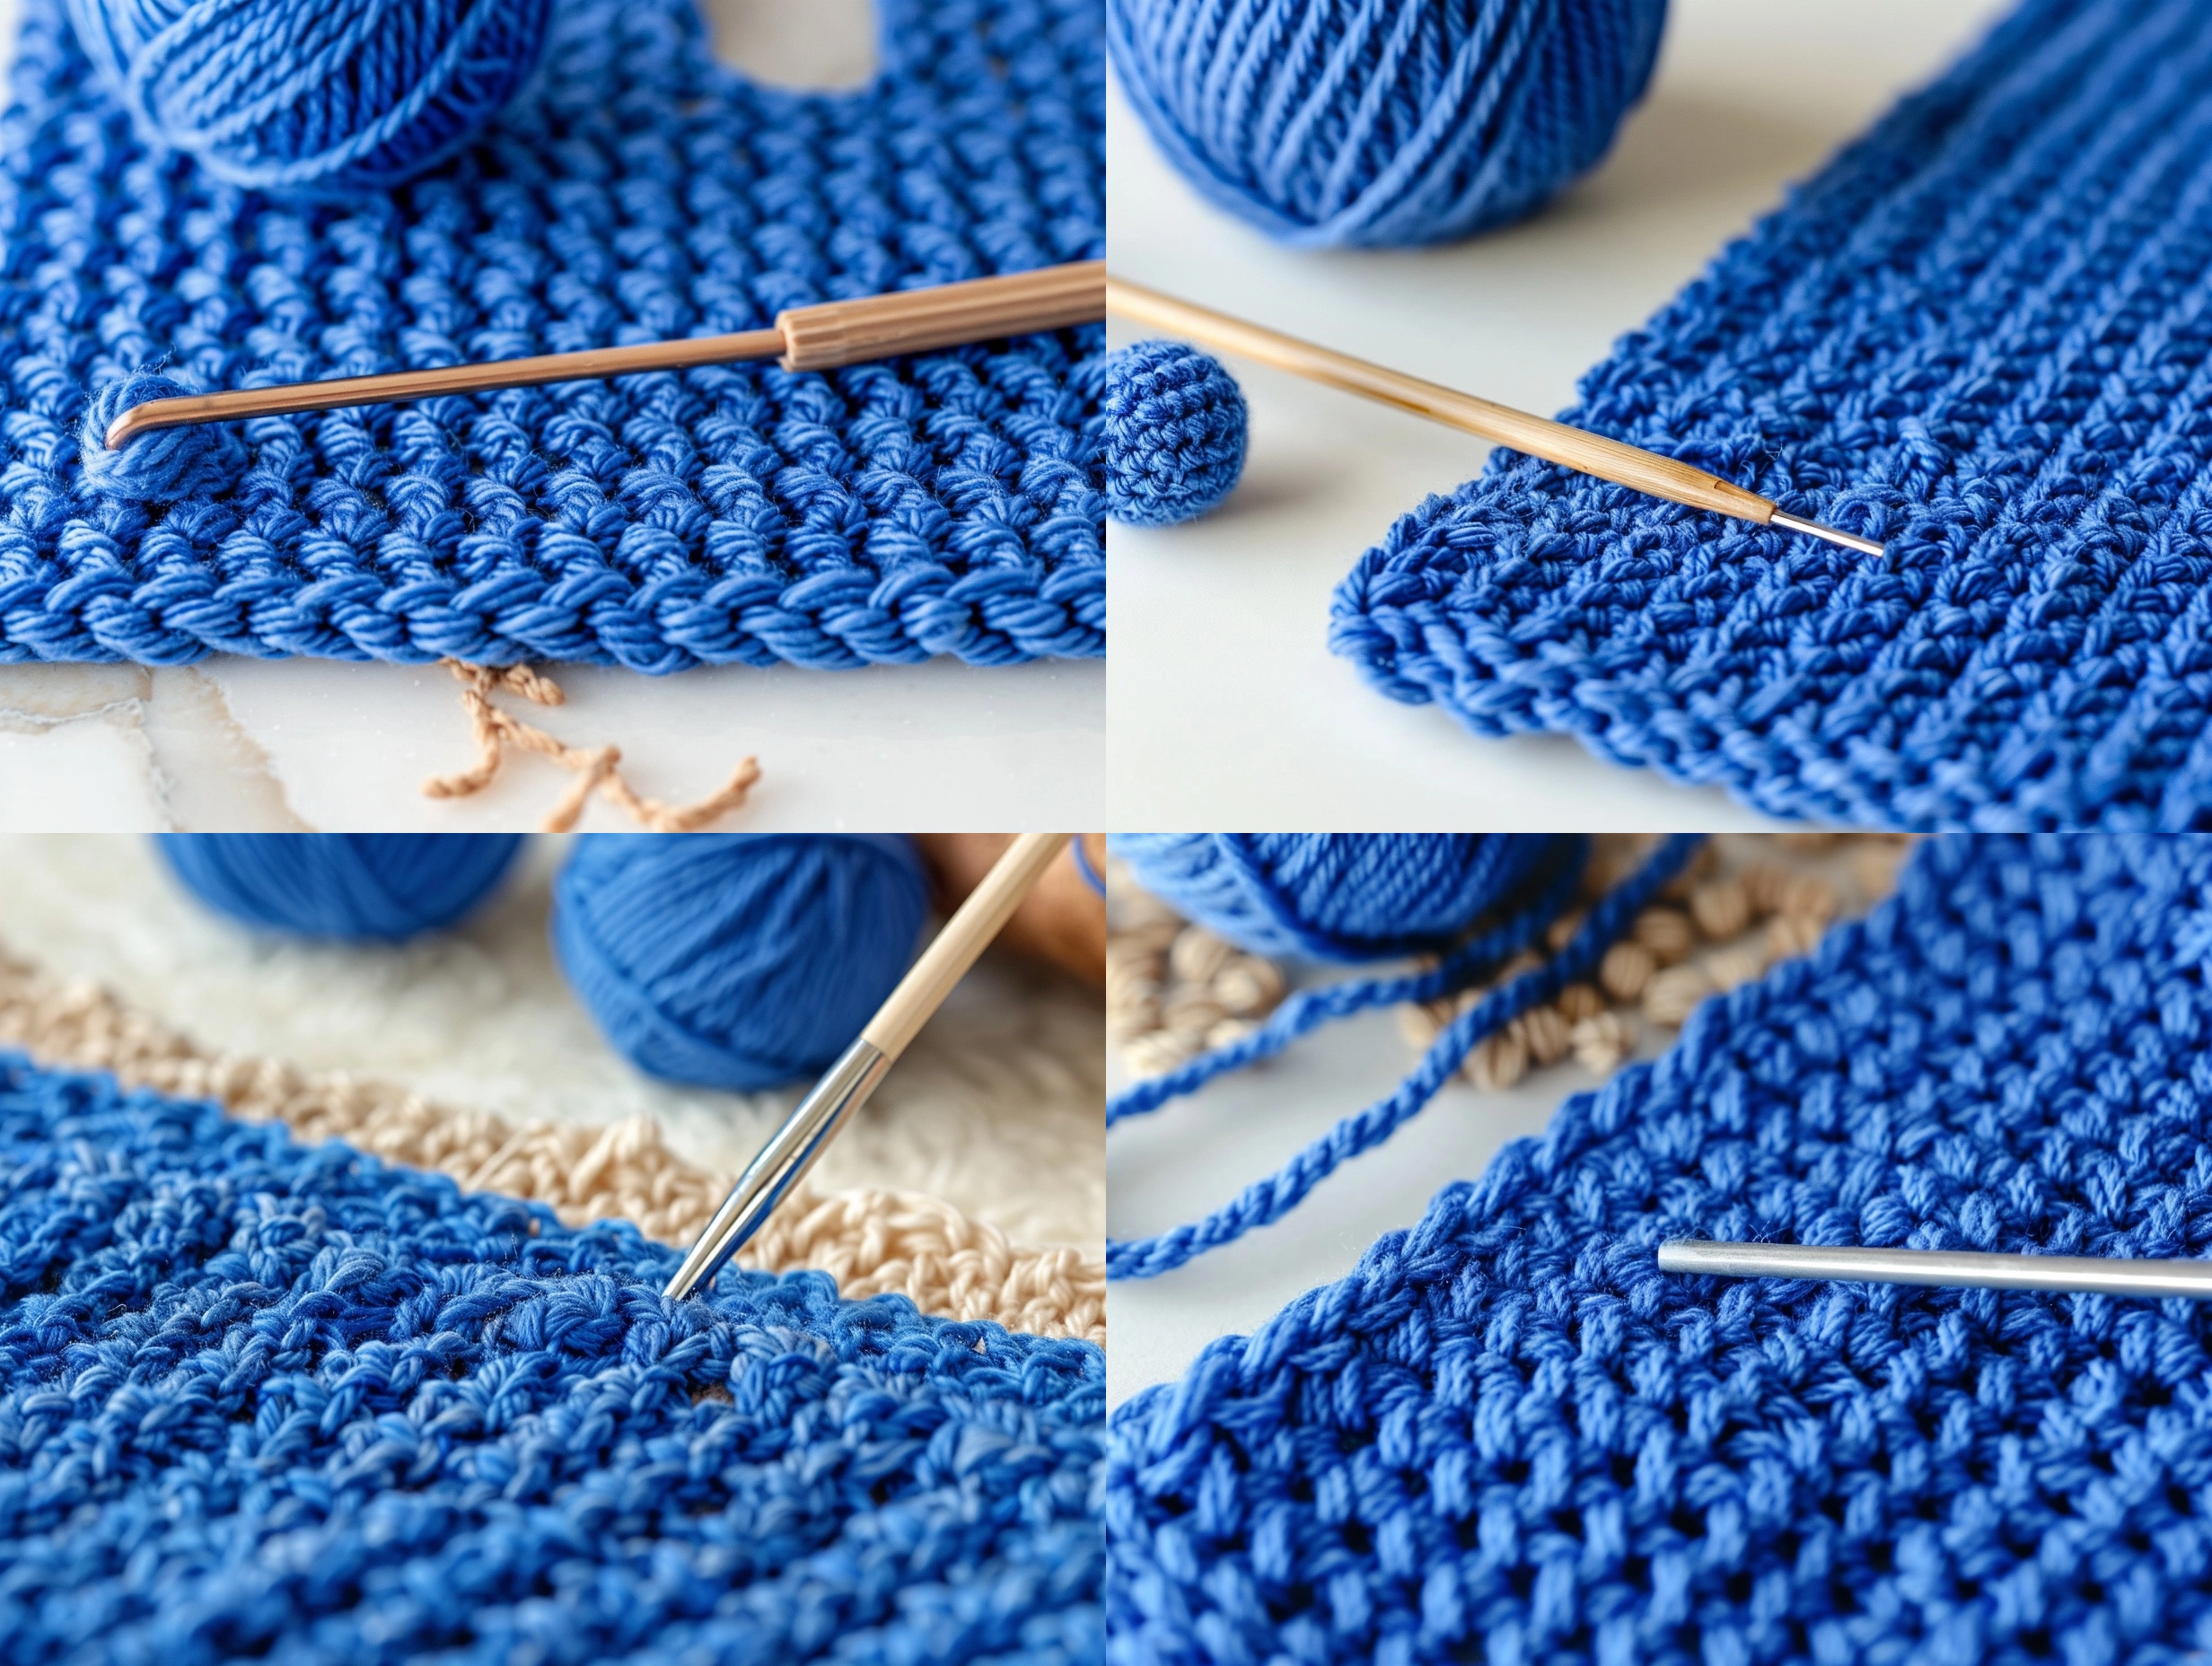
There is no single reliable gauge for this adjustable phone case because the finished size depends on your phone, any protective case, your yarn, and your tension. Instead, make a small swatch in single crochet using the hook you plan to use.
The swatch should look dense enough that the phone will not easily show through the fabric. It should also bend without feeling hard or bulky. Measure the swatch, then use the same fabric for the project. If your swatch is loose, go down a hook size. If it is too stiff, go up a hook size.
Finished Size
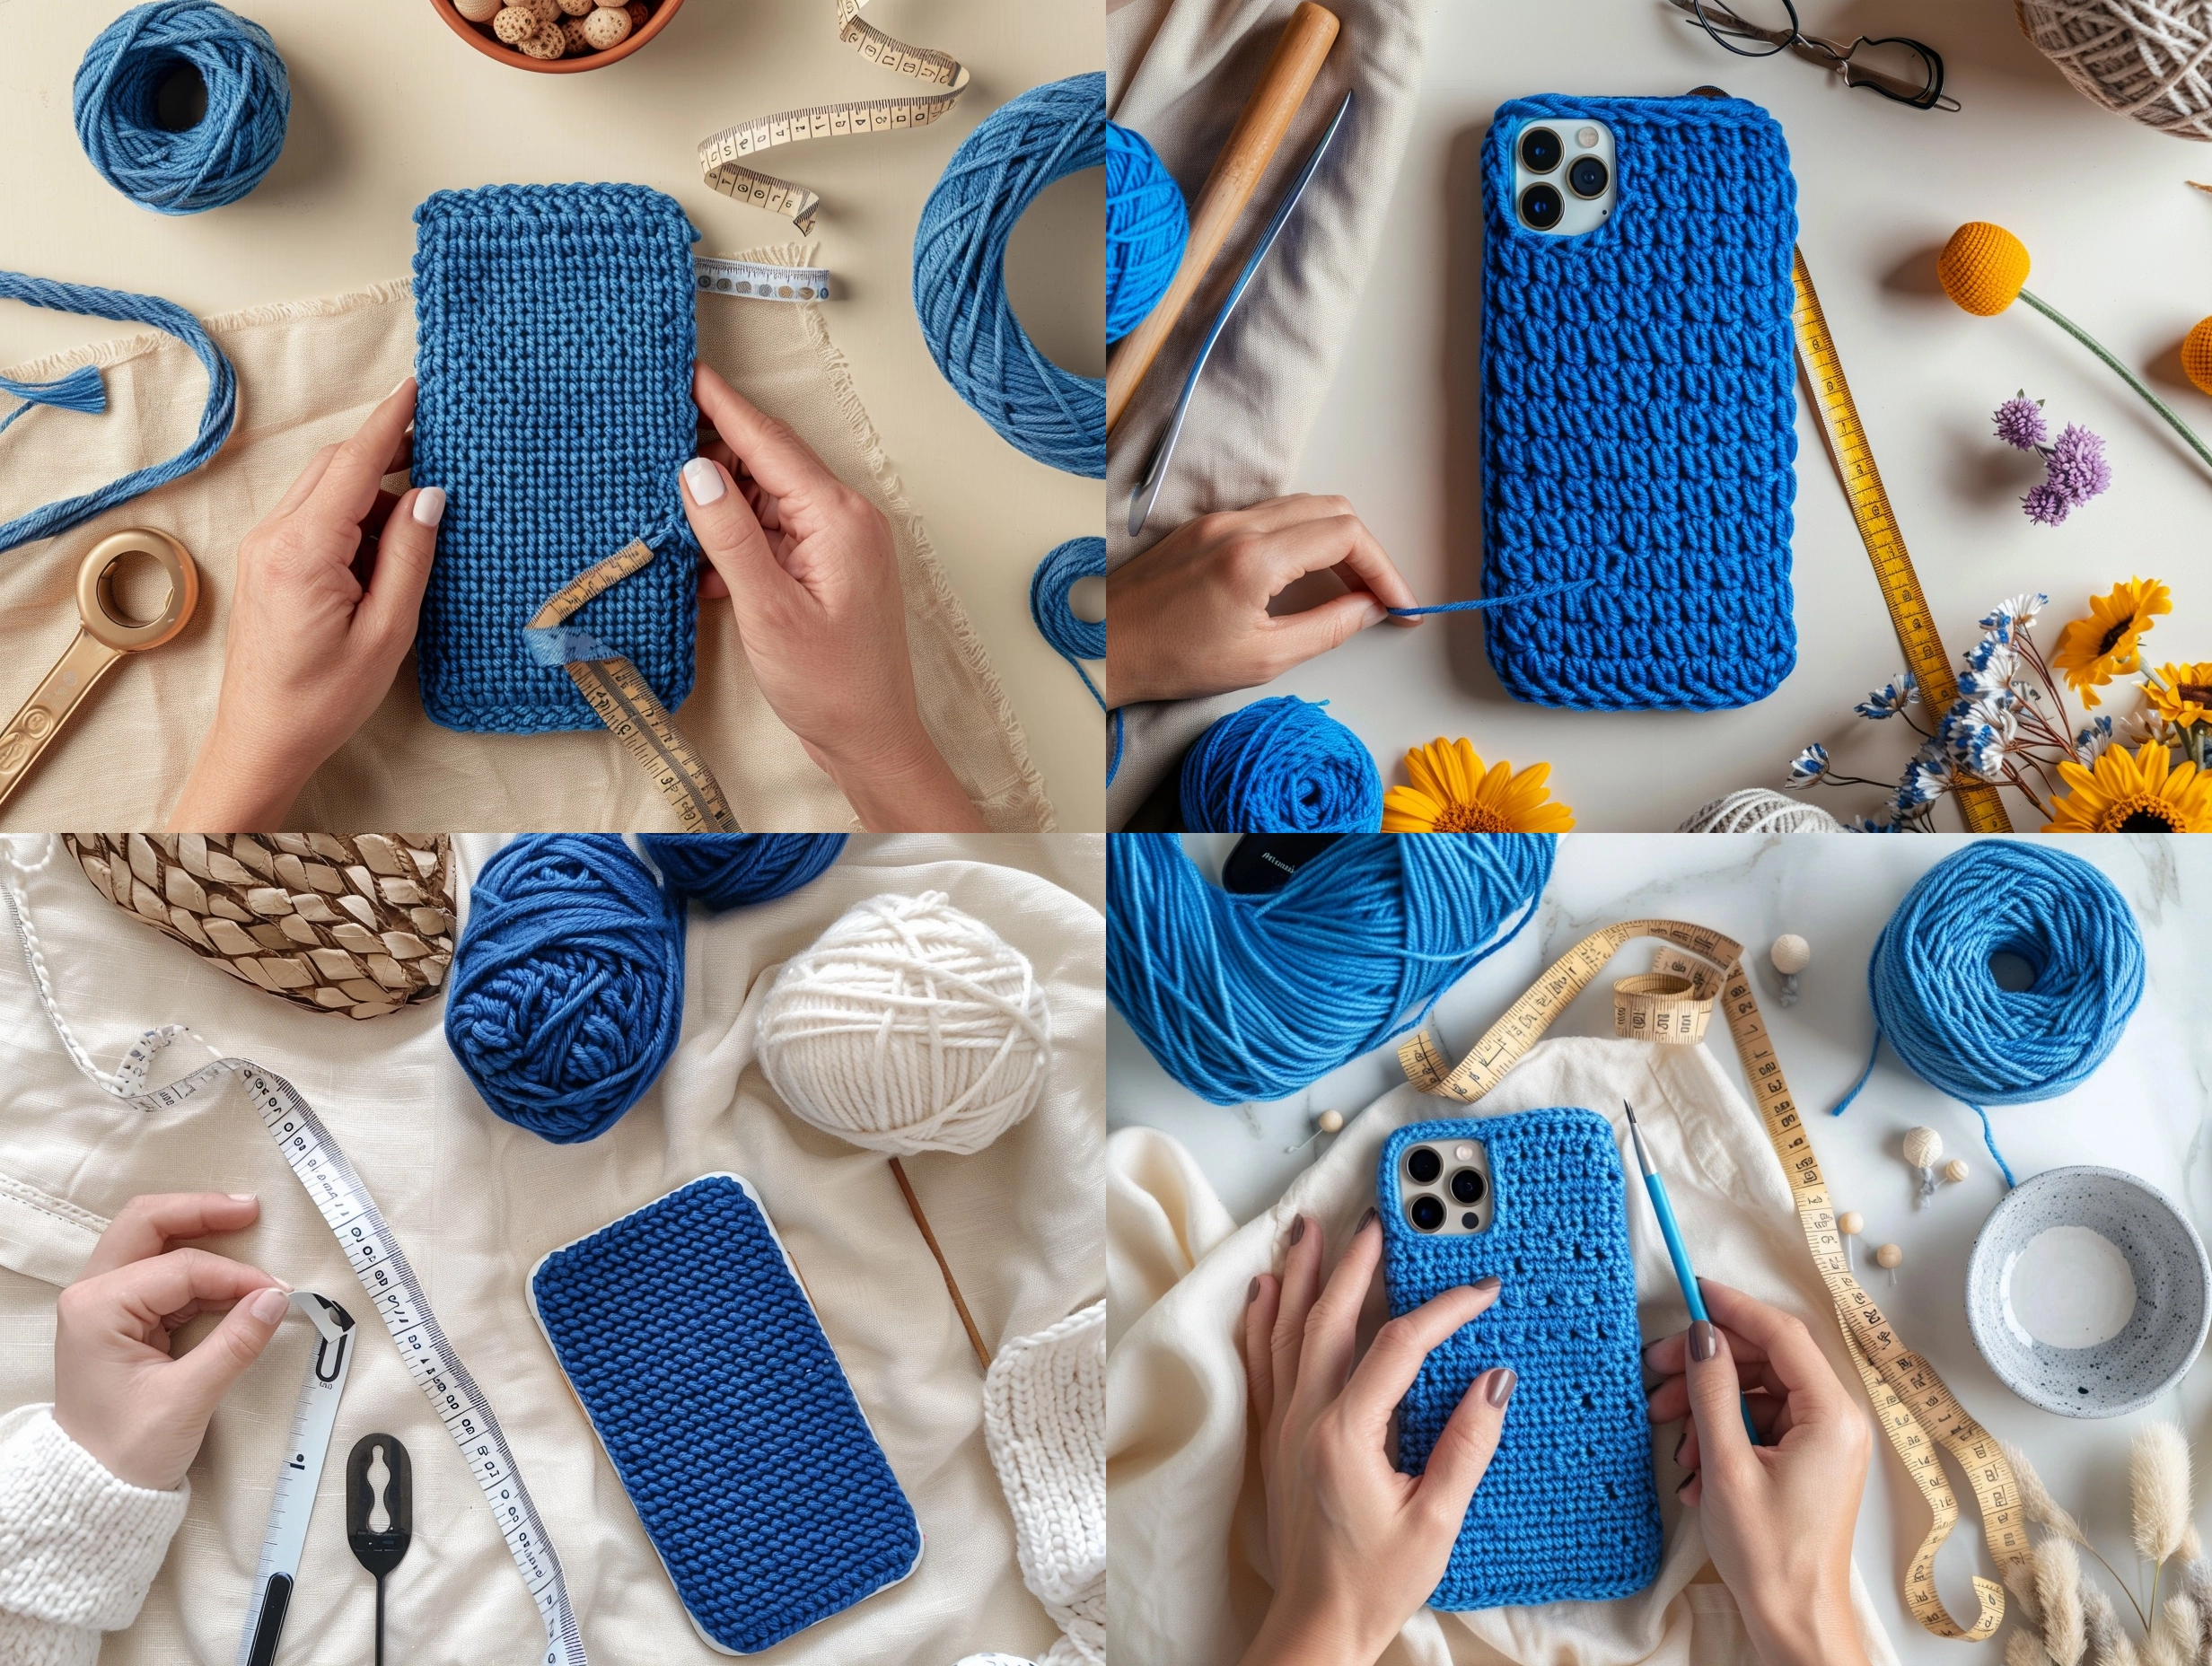
The finished sleeve is made to your measurements. To determine the target size, measure the phone or phone case that will go inside the sleeve.
| Measurement | How to calculate it |
|---|---|
| Panel width | Phone width plus about 1/4 to 1/2 inch of ease, depending on stretch |
| Panel length | Twice the phone height plus the phone depth, with a small amount of ease |
| Finished sleeve width | Approximately the panel width after side seams |
| Finished sleeve depth | Approximately the phone height plus the folded bottom depth |
For a close fit, use less ease. For a softer sleeve that is easy to remove, add a little more. Measure the crocheted panel as you work rather than relying only on its stitch count.
Pattern Notes
- Use US crochet terminology throughout.
- The turning chain does not count as a stitch.
- Work one single crochet in each stitch across unless the instructions say otherwise.
- Turn at the end of every row.
- The wrong side is the side that will face inward when the pouch is folded.
- Do not place the phone inside the sleeve while crocheting or seaming.
- For the cleanest fit, measure the panel with the same phone case that will be used inside it.
- Keep the fabric firm but flexible. Very tight stitches can make the sleeve too small and difficult to use.
best handmade crochet iPhone 17 Pro blue case Free Pattern
Skill Level: Beginner to easy
Yarn Weight: Medium or worsted weight
Hook: Choose a hook that creates a dense, flexible single crochet fabric
Terminology: US Crochet Terms
Construction: Adjustable flat panel folded into a sleeve
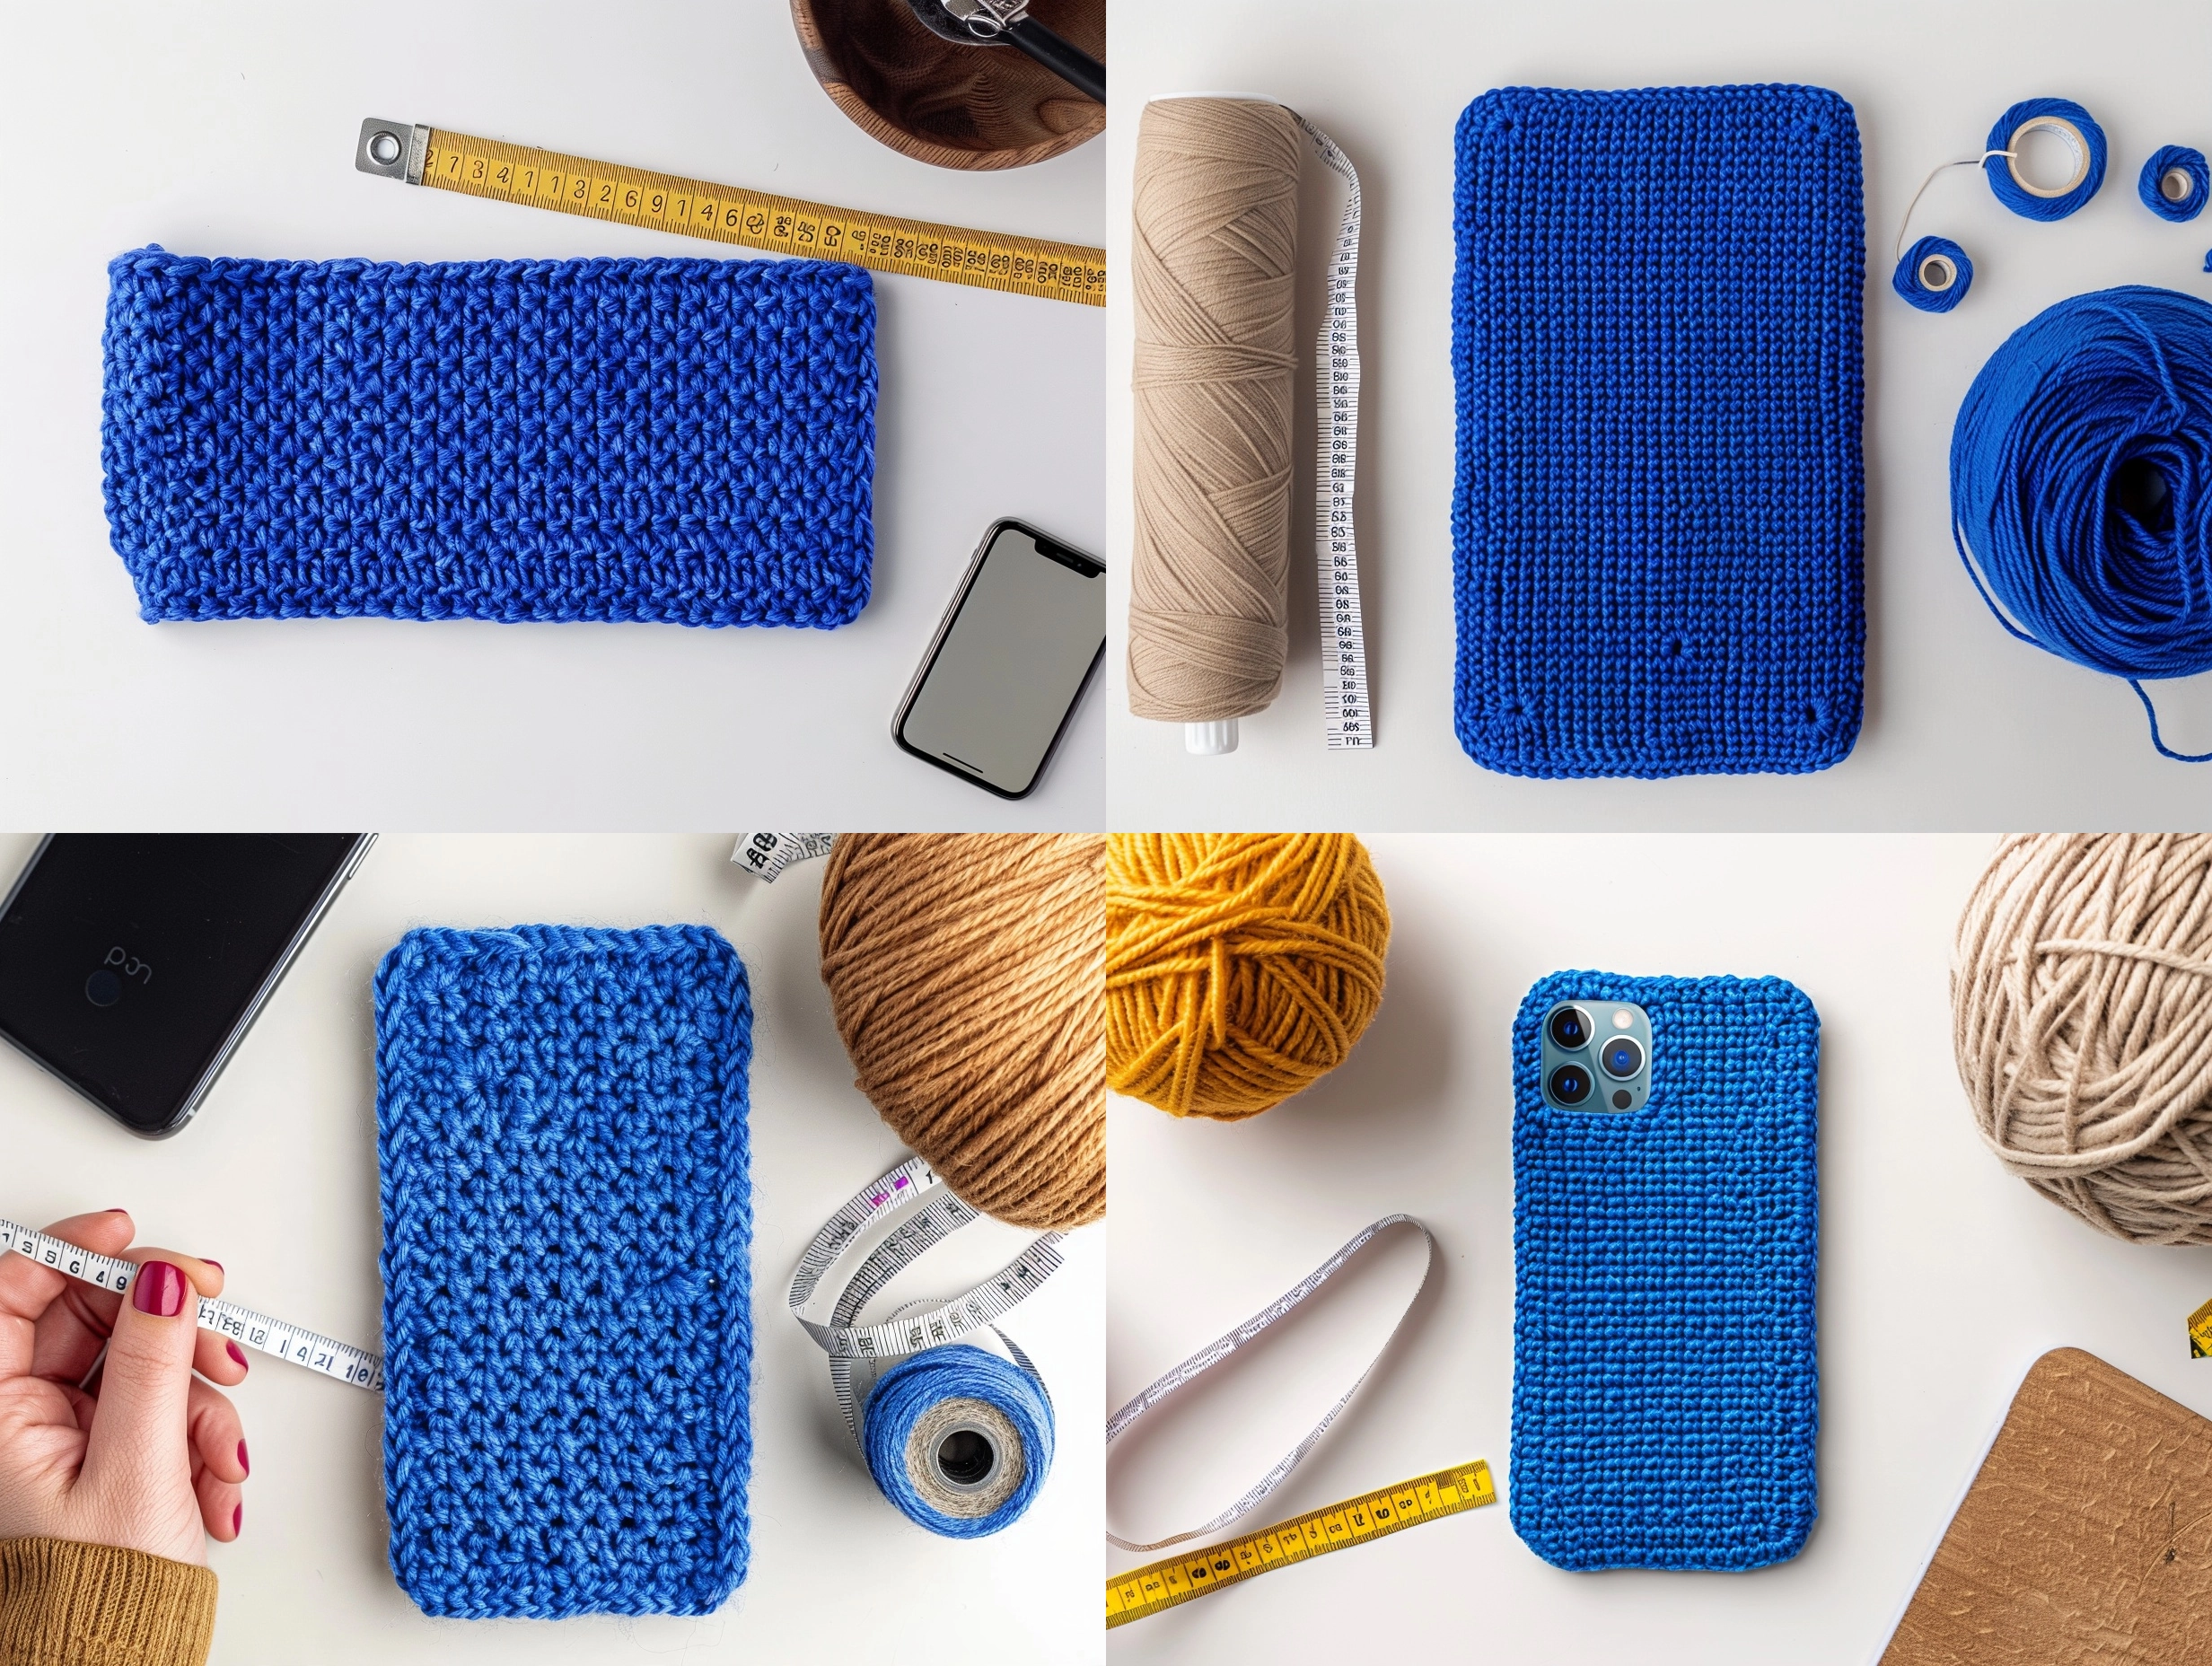
Measure the Phone
Place the phone inside the slim case you plan to use, if applicable. Measure the width from side to side and the height from bottom to top. Also measure the depth, including the case. Write these measurements down.
Add a small amount of ease to the width so the sleeve is not painfully tight. Add a little ease to the length as well, but avoid making the pouch so loose that the phone can slide out. A flexible crochet fabric will usually need less extra room than a firm, non-stretch fabric.
Foundation Row
Chain until the chain measures the target panel width. The chain should lie flat and reach from one side of the phone to the other, including your chosen ease. Do not stretch the chain while measuring.
If your chain is tight or curls strongly, make a new chain with a larger hook or use a relaxed tension. The number of chains will vary according to yarn thickness, hook size, and your phone measurement.
Row 1
Sc in the second ch from the hook and in each ch across. Turn.
Count the stitches in this row and record the number. This is your working stitch count for the rest of the panel.
Rows 2 and onward
Ch 1, sc in each st across. Turn. Repeat this row until the panel measures the target length.
To find the target length, fold a flexible measuring tape or a paper strip around the phone from the front bottom, up the front, over the top, down the back, and to the back bottom. Add enough length for the folded bottom and a small amount of ease. The panel should be long enough to create a front and back without pulling tightly across the phone.
Check the width after every few rows. Single crochet can become narrower if your tension changes, so gently smooth the panel before measuring. Do not stretch it aggressively.
Optional Top Edge
When the panel reaches the target length, fasten off and weave in the end. For a more finished opening, join blue yarn at one top corner with a slip stitch. Ch 1, then work one sc evenly across the top edge. Fasten off and repeat on the other top edge if desired.
If you add a border, keep it simple and make sure it does not reduce the opening too much. A border can also help stabilize a loose edge.
Fold and Seam the Sleeve
Lay the panel flat with the right side facing up. Fold the lower portion upward so the bottom edge reaches the point where you want the sleeve opening to begin. The folded section becomes the front and back of the pouch.
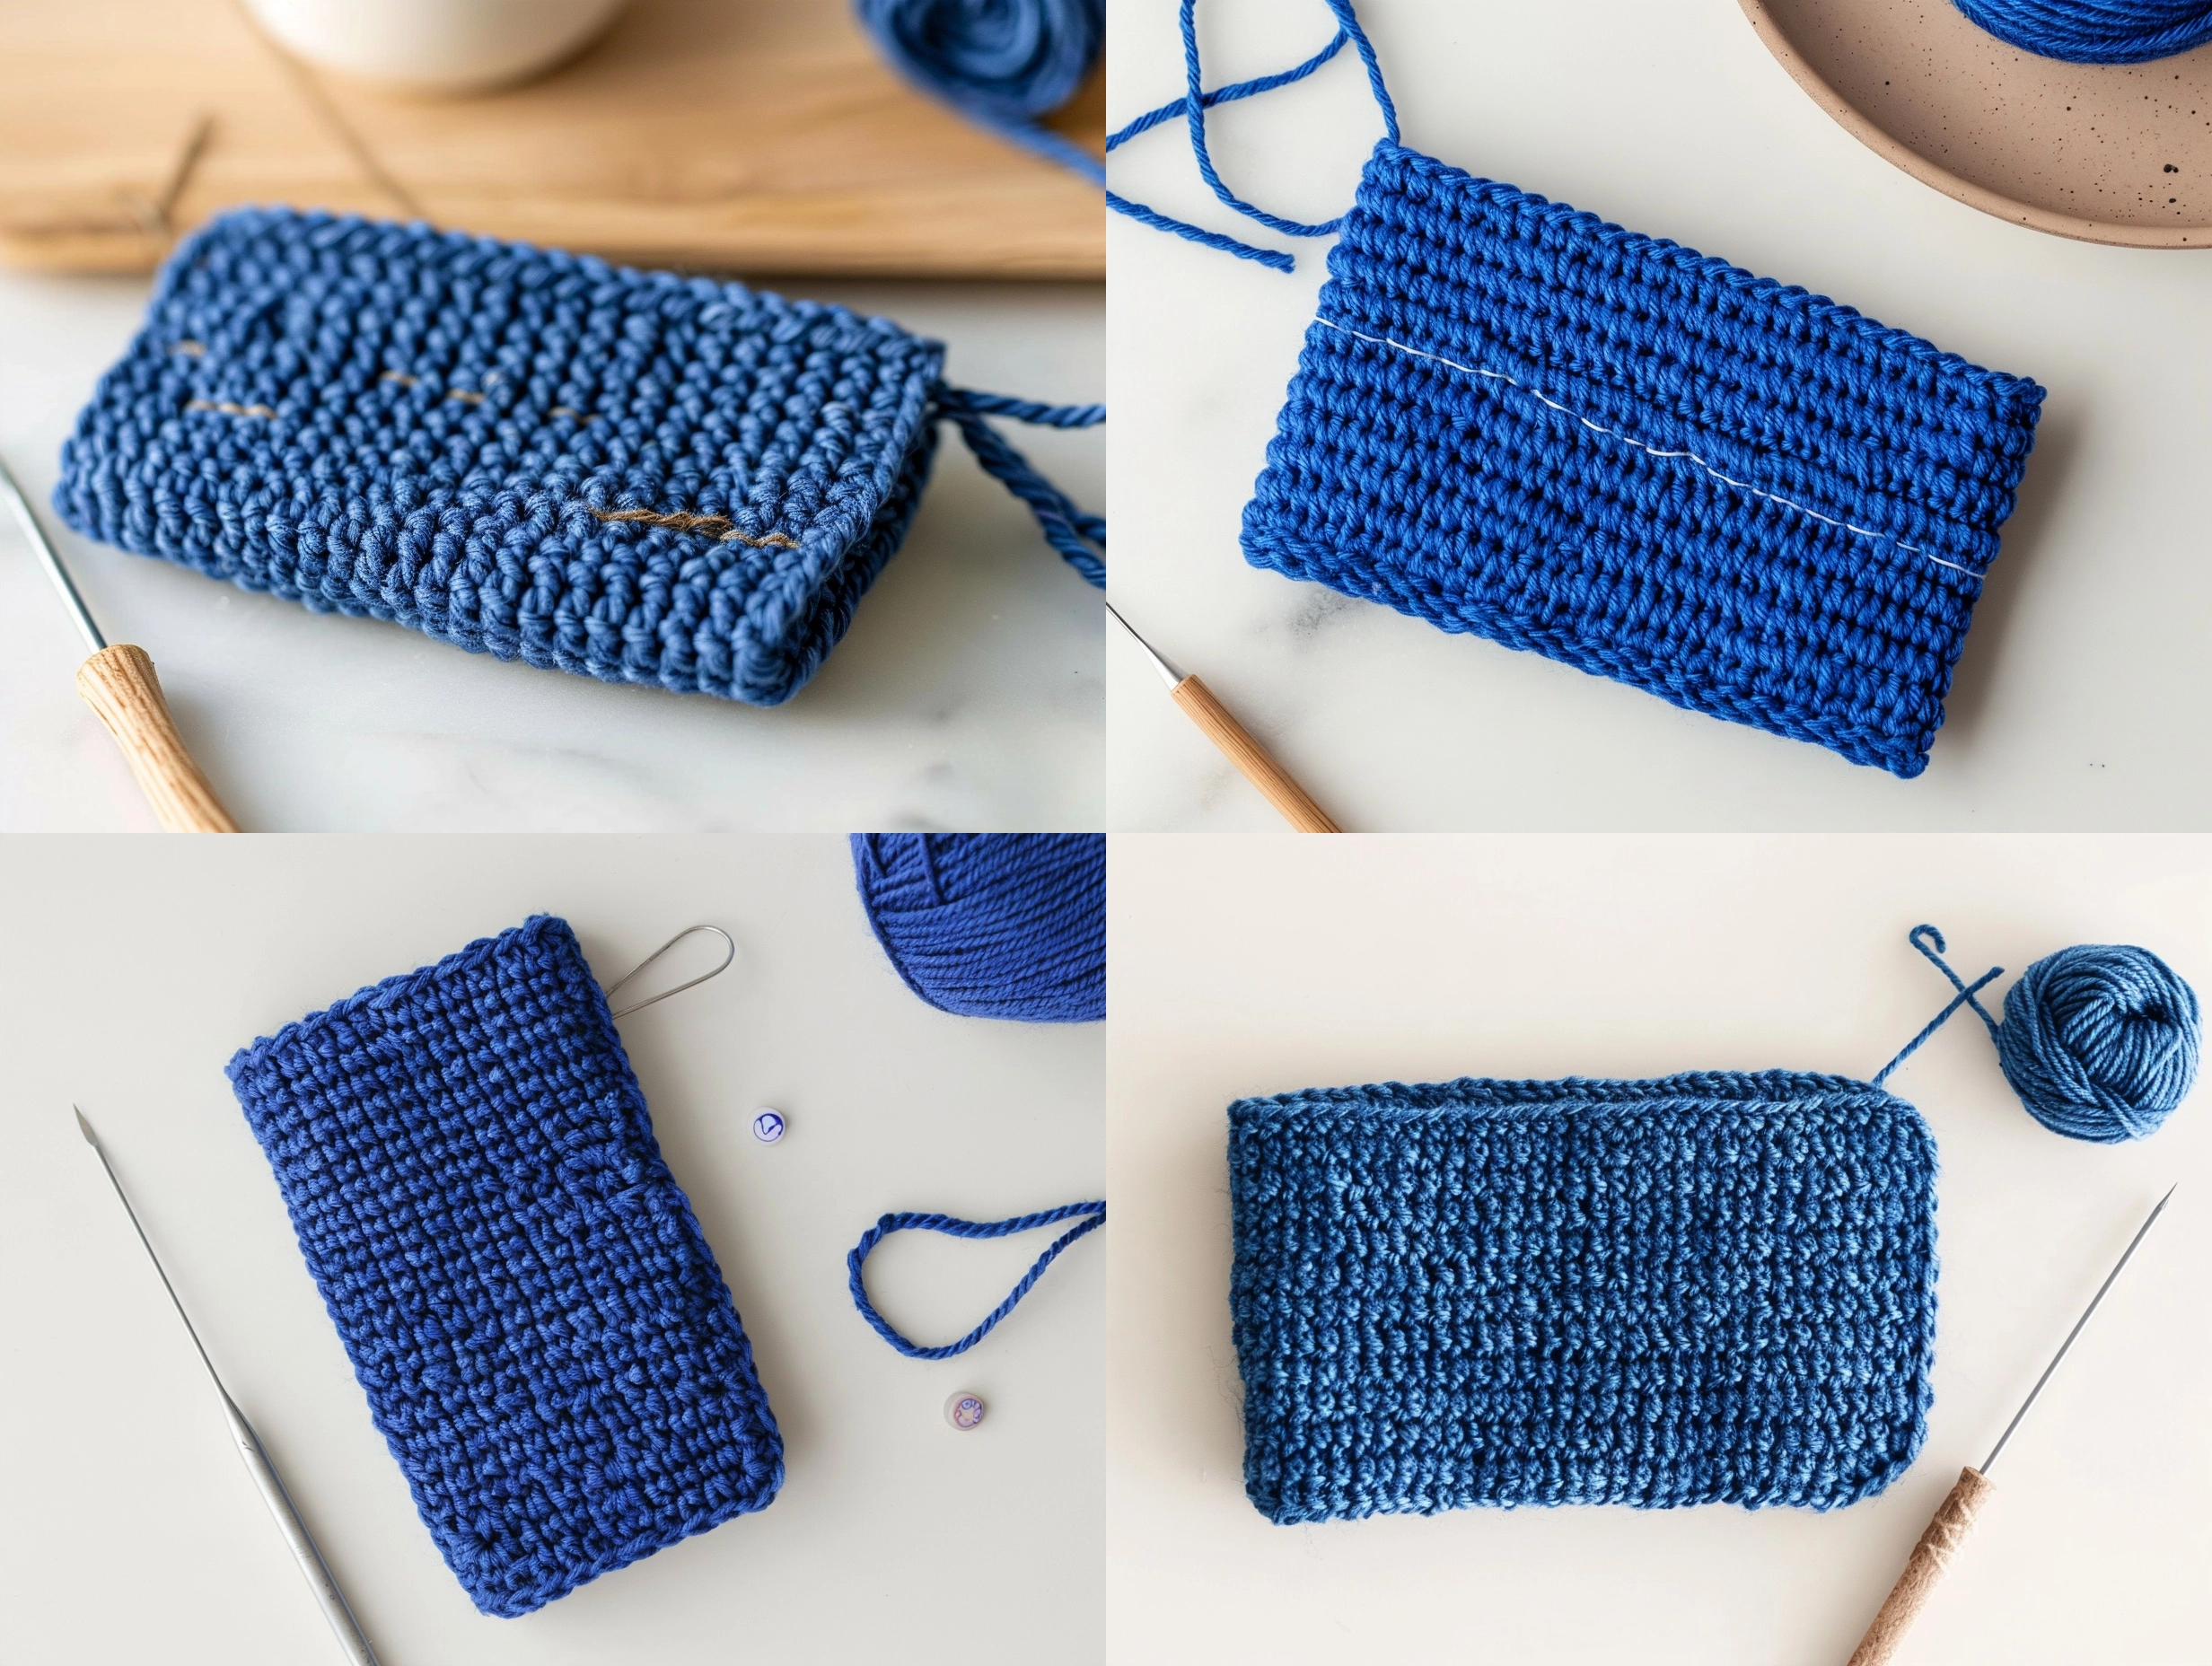
Use stitch markers to hold the two side edges together. Check that the opening is wide enough for the phone to slide in and out. It is easier to adjust the fold before sewing than after the seams are closed.
Thread a yarn needle with a long length of matching yarn. Seam one side from the bottom fold to the top opening using whip stitch or mattress stitch. Repeat on the opposite side. Keep the seam tension even; pulling too tightly can make the pouch narrower than planned.
Optional Button Loop
For a simple closure, join yarn at the center back of the opening. Chain enough stitches to stretch comfortably over a small button, then slip stitch back into the starting point to form a loop. Fasten off and weave in the end.
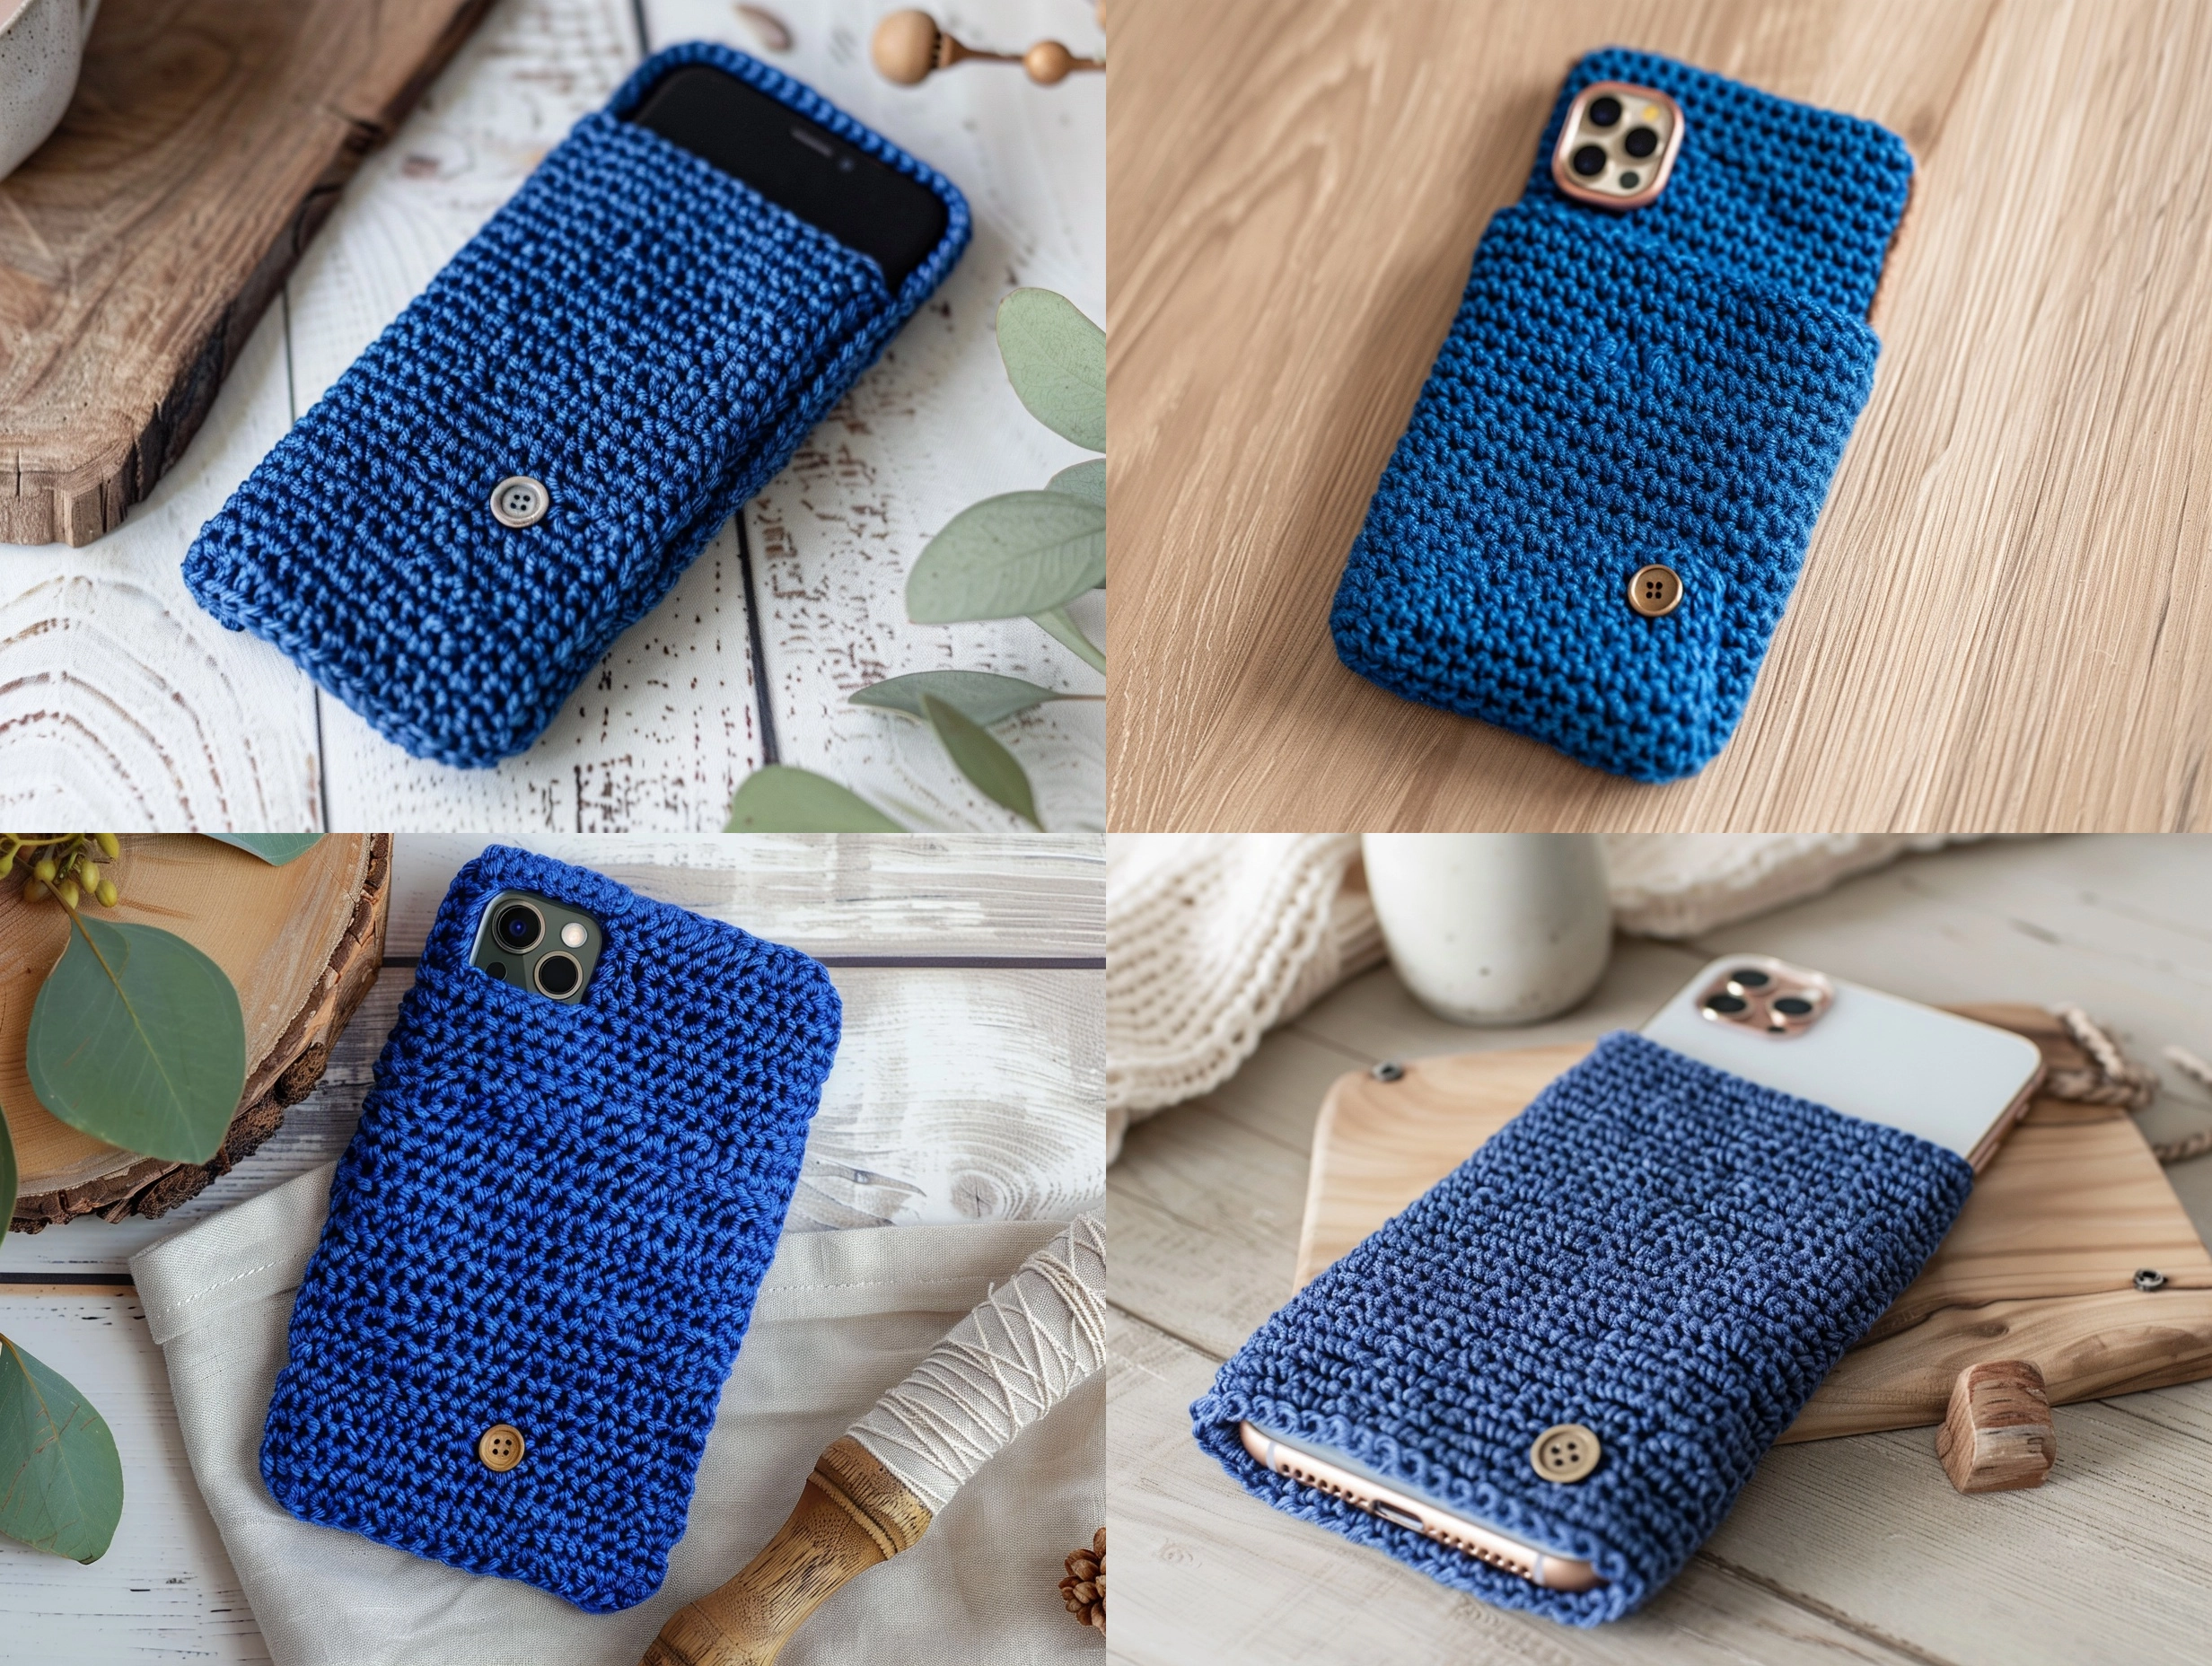
Sew the button securely to the front of the sleeve, positioning it so the loop closes the pouch without pulling the crochet fabric out of shape. Test the closure with the phone removed from the sleeve.
How to Finish the Project
Weave in every yarn tail on the inside of the sleeve. Thread the needle through several stitches in different directions, then trim the excess close to the fabric. Avoid leaving long loose ends near the opening.
Lightly shape the pouch with your hands. If the yarn label allows blocking, place the sleeve around a similarly sized object or shape it flat and let it dry according to the fiber care instructions. Do not force a wet sleeve over the phone.
Before using the finished case, check the seams, opening, and any button attachment. The phone should slide in smoothly and remain secure when the pouch is held upside down without shaking.
How to Customize This Crochet Pattern
Change the Color
Use navy, sky blue, denim, teal, or a blue-and-white combination. For stripes, change color at the end of a row and carry the unused yarn neatly up the side if the edge will be covered by a seam. A solid blue case gives the cleanest handmade look.
Use a Different Yarn
Try a cotton blend for a firm finish, acrylic for softness and easy care, or a thinner yarn for a lighter sleeve. Always make a swatch and measure the panel because changing yarn weight will change both the stitch count and the finished thickness.
Make It Bigger or Smaller
Adjust the foundation chain to change the panel width. Add or remove rows to change the panel length. If you want the sleeve to hold a phone with a thick protective shell, measure that shell rather than the phone alone.
Add a Border or Decorative Detail
Add a contrasting single crochet border, a narrow slip stitch outline, or a small crocheted flower. Keep embellishments flat and securely attached so they do not scratch the phone or interfere with inserting it.
Common Problems and Troubleshooting
The sleeve is too small
If the panel is too narrow, the foundation chain was likely too short, the yarn was thinner than expected, or your tension was tight. Add a new panel with more chains rather than trying to stretch the finished sleeve permanently.
The sleeve is too large
Reduce the foundation chain for the width or remove a few rows from the length. A slightly roomy pouch can be useful, but too much extra space may allow the phone to slide out.
The sides are uneven
Count stitches at the end of each row. Accidentally skipping the first or last stitch is a common cause of slanted edges. Place a stitch marker in the first stitch of each row if needed.
The fabric curls
A small amount of curling can relax after the panel is folded and seamed. Strong curling usually comes from tight tension, a tight foundation chain, or a hook that is too small. Try a larger hook and make sure you are not pulling the turning chain tight.
The opening is too tight
Check the fold before finishing the side seams. You can lower the fold slightly to make the opening larger, or undo the top edge and remove a firm border that is reducing the usable space.
Helpful Crochet Tips
- Read the full pattern before beginning so you understand how the panel will fold.
- Measure the phone with its actual protective case if the sleeve will be used over it.
- Make a small swatch before deciding on your hook size.
- Count stitches regularly, especially during the first several rows.
- Keep the foundation chain relaxed so the bottom edge does not pull inward.
- Use stitch markers to identify the first and last stitch while learning.
- Save the yarn label in case you need washing or fiber information later.
- Test the fit before adding decorative borders, buttons, or other details.
How to Care for Your Crochet Project
Follow the care instructions on the yarn manufacturer’s label. Different fibers react differently to water, heat, agitation, and drying methods.
Keep the case clean by removing the phone before washing. If the label permits washing, use the recommended method and reshape the sleeve while it is damp. Allow it to dry fully before putting the phone back inside. Avoid storing the phone in a damp case.
When not in use, store the sleeve in a dry place away from rough surfaces that could snag the yarn. If the fabric becomes stretched, gently reshape it rather than pulling it forcefully back into place.
Frequently Asked Questions
Is this crochet phone case pattern beginner-friendly?
Yes. The main fabric uses only chain and single crochet, followed by simple seaming. The adjustable measurements require careful checking, but no advanced shaping is needed.
What yarn works best for a blue crochet iPhone case?
A smooth medium-weight blue yarn is a dependable choice. Cotton, cotton blends, and acrylic can all work when they create a dense but flexible fabric. Avoid yarn that sheds heavily or has a very loose texture.
What hook size should I use?
Use the hook that gives you a firm fabric without making the stitches hard to work. For many medium-weight yarns, a hook in the 3.5 mm to 4.5 mm range may work, but your yarn label and swatch should guide the final choice.
Can I substitute the yarn?
Yes. Compare the substitute yarn’s weight, fiber, thickness, yardage, and care requirements. Make a swatch and measure as you work because a substitution may change the number of stitches and rows needed.
How can I change the size?
Measure the phone or phone case, then adjust the foundation chain for width and the number of rows for length. Add a little ease, but not so much that the phone can slip out.
How much yarn will I need?
The amount varies with phone size, yarn weight, hook size, tension, and optional edging. A single skein may be enough for many small sleeves, but check the yardage and keep extra yarn available for seaming and finishing.
Why is my crochet sleeve changing size?
Changing tension, accidentally adding or losing stitches, or using a different yarn can alter the dimensions. Measure the width every few rows and count the stitches at the end of each row.
Can I sell finished sleeves made from this pattern?
You may use the instructions to make finished items for sale, but write your own product descriptions and photographs. Do not present the pattern itself as your own or redistribute the written instructions.
More Crochet Patterns to Try
Once you finish this phone sleeve, try another small practical project such as a crochet sunglasses pouch, earbud holder, tablet sleeve, card wallet, or zipper pouch. These projects are useful for practicing dense single crochet, neat edges, and clean finishing.
Final Thoughts
A handmade phone sleeve is a simple way to make an everyday item feel more personal. With a smooth blue yarn, a measured fit, and a few rows of single crochet, you can create the best handmade crochet iPhone 17 Pro blue case for your own needs rather than settling for a one-size design.
Save this pattern for later, adjust the measurements for another device, or make a second case in a different shade. Small crochet projects are excellent opportunities to practice while creating something genuinely useful.